
RITA now includes a newly added Project-Based Information tab, designed for PRA users to create, update, and manage locations and multiple consignments under their assigned projects.
New Location creation
 | All locations used in RITA must be registered in the system before they can be used for consignments, dispatches, or storage transactions. |
To begin creating or managing locations and consignments, navigate to the Maintenance screen.
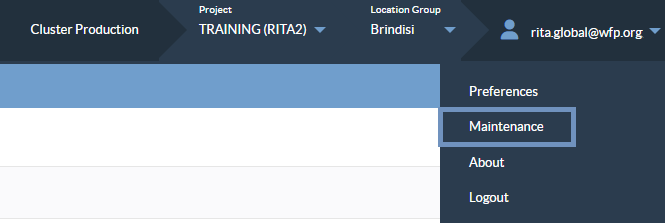
Step 1: Click on your user profile icon (top-right corner of the RITA interface) and select Maintenance from the dropdown menu.
Step 2: Once inside the Maintenance screen, two tabs will appear at the top:
- Maintain Variable System Lists
- Project-Based Information
Click on the "Project-Based Information" tab to proceed.
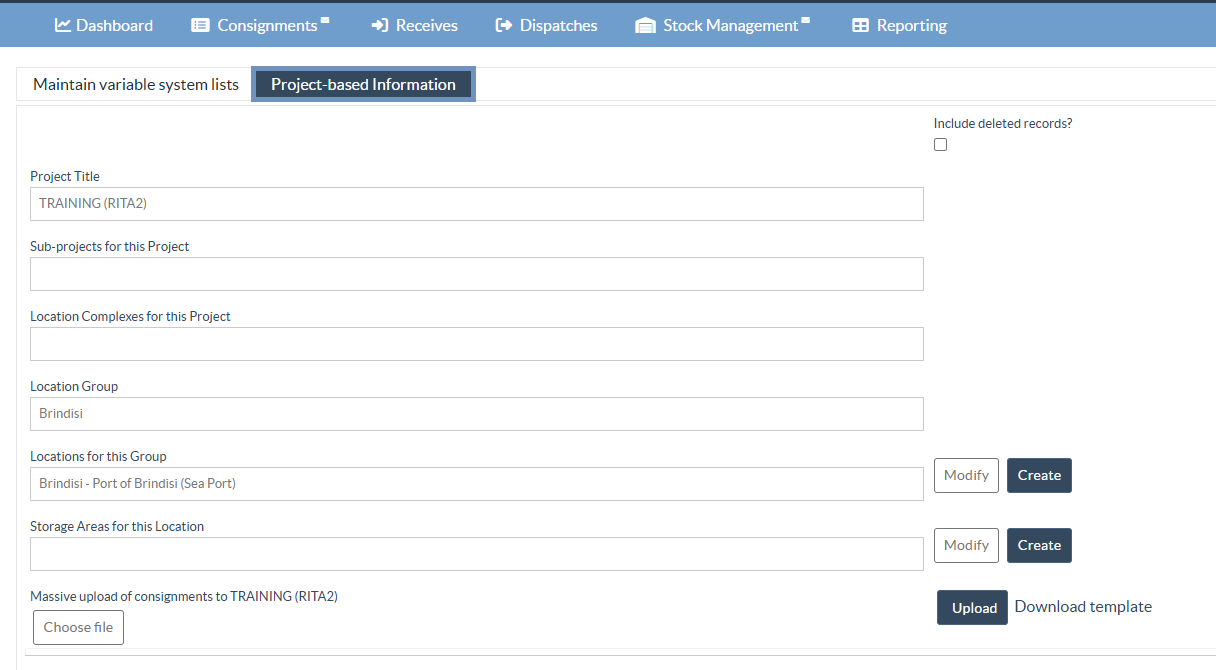
Step 3: Next to the “Locations for this Group” box, click the Create button.

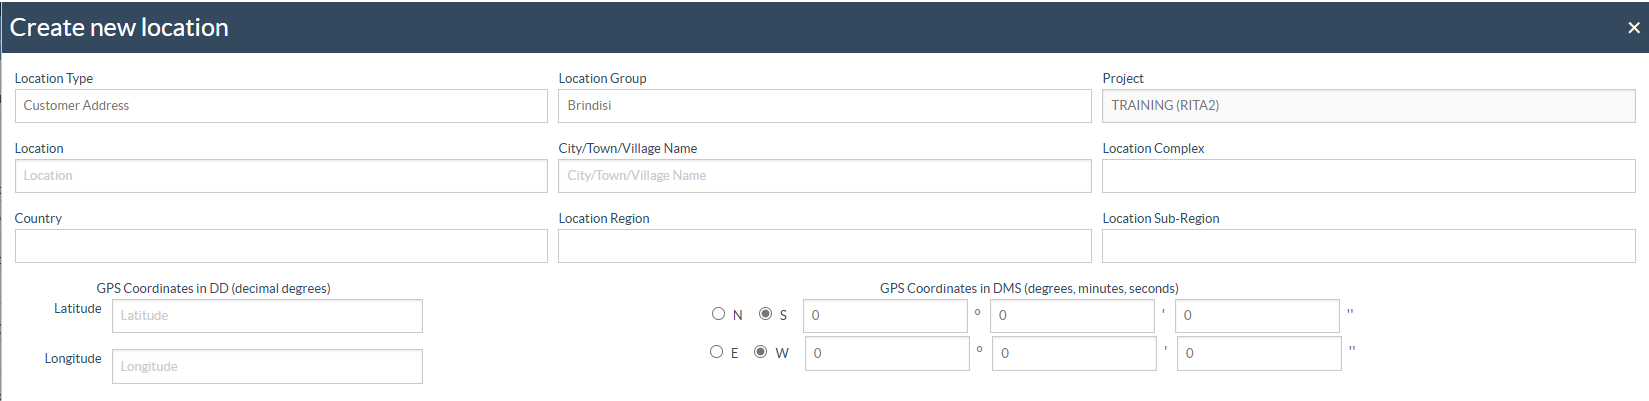
Step 4: Within the Location for this Group box, complete the fields as follows:
Location Type: Different location type includes:
- Customer Address: This option is selected when the user requests services that include pickup or delivery to a new customer address.
- Storage: This option is selected when a new warehouse needs to be registered in the system. Note: These must be Logistics Cluster-managed warehouses or partner-managed facilities where WFP financially covers, in part or in full, the storage activities provided by the partner.
- Transshipment point: For transit hubs such as airports, seaports, or border crossings-when a new transit point must be registered, this option is selected.
Location Group: The administrator must select the site where the new location is created.
Project: This field is disabled, as the project is already defined. Note: Only the assigned project for the PRA user is automatically enabled for selection.
Location: Specify the name of the location.
City/Town/Village Name: Specify the name of the city/town/village where the location is situated.
Country: Provide the country’s name.
Location Region: Provide the region for the new location, i.e., the first level of the administrative division (state, department, region).
Location Sub-Region: Provide the sub-region for the new location, i.e., the second level of the administrative division (province, district).
| The region and sub-region information is pre-registered by the RITA administrator when the project is created. |
GPS Coordinates: The administrator can fill in the decimal GPS coordinates or the coordinates in degrees, minutes, seconds.
Remarks: Any comments provided can be filled in the Remarks column.
Building Type: Specify if the address includes permanent structured building or mobile storage tent.
Location is Active (Can Receive Goods): Tick this box to mark the location as active. Only active locations can receive goods, appear in SRF drop-downs, and be used for dispatch or release.
Additional Details for Storage Creation: When users select “Storage” as the location type, additional fields appear that can be filled in to define the storage capacity and the operational status of the warehouse.

- Storage Area (in m²): Specify the total usable area of the warehouse in square meters. This information helps track and report warehouse capacity.
- Storage Volume (in m³): Specify the total storage volume in cubic meters. This value supports space utilization calculations and planning.
- Is Location Enabled to Accept Online Storage Service Requests? Tick this checkbox to see if the warehouse should be visible and available for online Service Request Forms (SRFs) related to storage.
| These fields are optional and leaving them blank will not prevent users from creating the location. Providing accurate capacity data, however, is recommended to support operational reporting and capacity management in RITA. |
Additional Details for creation of Transshipment Point: When users select “Transshipment Point” as the location type, additional fields appear to capture key operational and customs-related details.
Transshipment Point Type: Select the type of transshipment facility from the dropdown list. Examples include Sea Port, Airport, Landing Zone, or Border Crossing etc.
Port ISO Code: Enter the official three-letter ISO code corresponding to the port location. This standard code helps ensure global uniformity and simplifies data export and reporting.
Port Consignee Detail: Provide the consignee’s name or organization responsible for receiving cargo at the specified port.
Is ‘Notification’ SRF Service Type Enabled? Tick this box if the location should receive SRFs (Service Request Forms) notifications.
| These fields are optional and not providing them will not prevent the creation of the location. However, entering complete information is strongly recommended for improved coordination, customs documentation accuracy, and reporting consistency across RITA. |
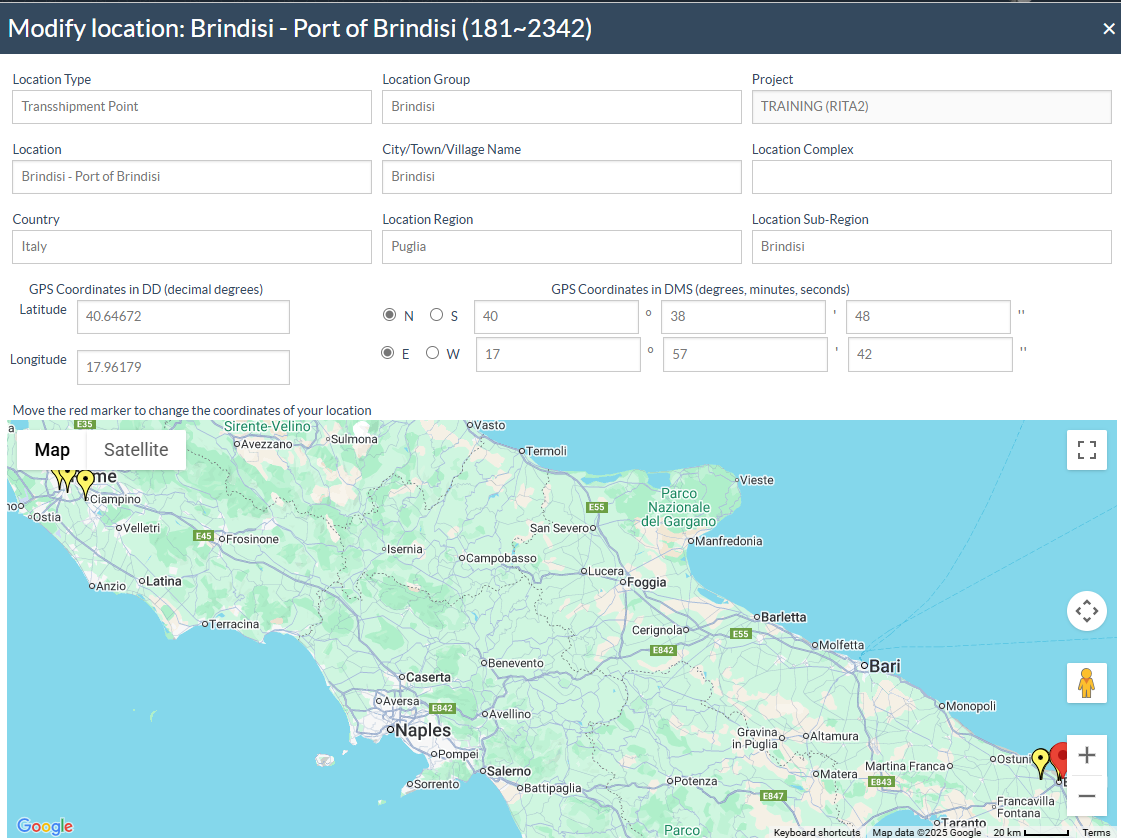
Step 5: The location is mapped and displayed to the user in the form of Google Maps. Check for accuracy and click on “Save” button to save the address.

Modifying an Existing Location
Operators can edit or update the information of an existing location at any time. To do so, click on the “Modify” button next to the “Locations for this Group” box.

This action opens the same dialog box used during the creation of the location, allowing users to review and update previously entered details such as the location name, location group, region, sub-region, coordinates etc. After making the necessary changes, click "Save" to apply the updates.
Storage Areas for Location:
The Storage Areas section allows the administrator to define and categorize specific physical zones within a location.
Step 1: Next to the “Storage Areas for this location” box, click on the option “Create.”

Step 2: A dialog box appears where users must specify the name of the storage area within the selected location. After entering the name, click "Save" to create the storage area.

Example: In the figure below, the storage area “Dispatch Staging Area”, which is typically used for preparing and consolidating cargo before dispatch, is created under the location “Brindisi – UNHRD Warehouse 1 (Storage)”, allowing users to effectively organize and manage distinct operational zones within the warehouse.

Modifying an Existing Storage Areas
Operators can edit, delete, or update the details of an existing storage area as required. To do so, click on the “Modify” button next to the “Storage Areas for this Location” box.

This opens the same dialog box used during the creation of the storage area, displaying the existing information such as the storage area name. From here, users can perform the following actions:
- Update the name or details of the storage area as needed, then click "Save" to apply the changes.
- Remove the storage area completely by clicking the "Delete" button.
- Exit the modification window without making changes by clicking “Close Dialog”

Massive Upload of Consignments:
This feature allows users to add multiple consignments to a project at once using an Excel upload, rather than entering each consignment manually.
Step 1: Download Template
- Click on Download Template to obtain the standardized Excel format.
- Complete all required fields in the exact format of the provided in the template.
Step 2: Upload:
- Select the completed file via Choose File, then click Upload.
- The system will automatically import all consignments under the selected project.
Note: Ensure that the file follows the exact format of the provided template. Incorrect or missing data may result in upload errors, and only Excel files (xlsx) are supported.
 | Ensure that all mandatory columns in the template are filled correctly and that the file format remains unchanged to prevent upload errors |
