Switch to Pallet View
The Pallet View under the Stock Management tab allows operators to efficiently manage and visualize inventory stored on transport units (pallets or crates). This interface supports pallet creation and organization, improving warehouse traceability and operational control.
Step 1: Click the pallet icon in the top‑right corner of the Stock Management screen.

The screen will display a two‑pane layout:

Loose Items: Inventory not yet assigned to any pallet.
Palletized Items: Inventory already grouped into transport units.
Step 2: Operators can create pallets using two methods:
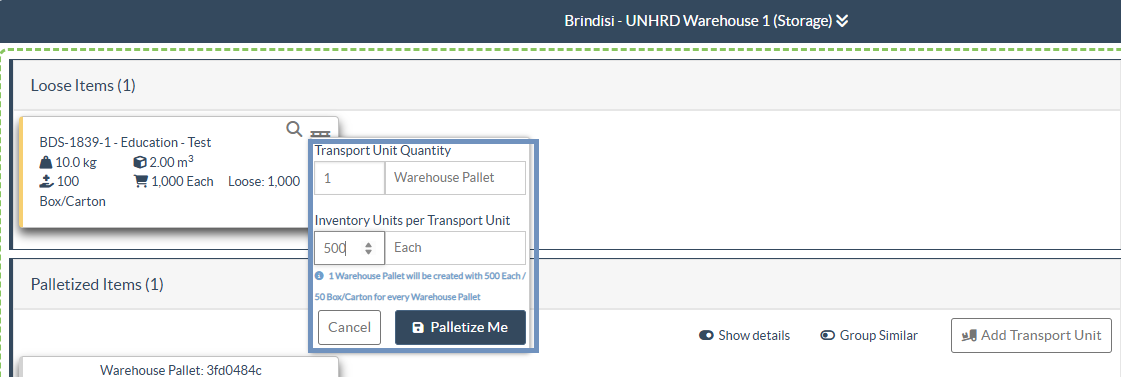
Direct Pallet Creation:
- In the Loose Items section, click the pallet icon.
- Enter the Transport Unit type, quantity, and (optionally) pallet position.
- Click Palletize Me to group the selected Handling Units into the defined pallets.
Drag‑and‑Drop Palletization:
- In the Palletized Items section, click Add Transport Unit and add the type of pallet used.
- Drag and drop loose cargo into the pallets.
Assigning Pallets to a Planned Journey:
Operators can assign pallets to a planned journey directly from the stock management screen:
Step1: Select the pallet with the respective consignment.
Step 2: Drag and drop it into the planned journey, displayed on the right side of the screen.
Assigning Pallets to Release
Pallets can be directly released from the Stock Management screen using the Pallet View. This allows operators to quickly assign pallets to outbound movements without navigating through multiple screens.
To release pallets:
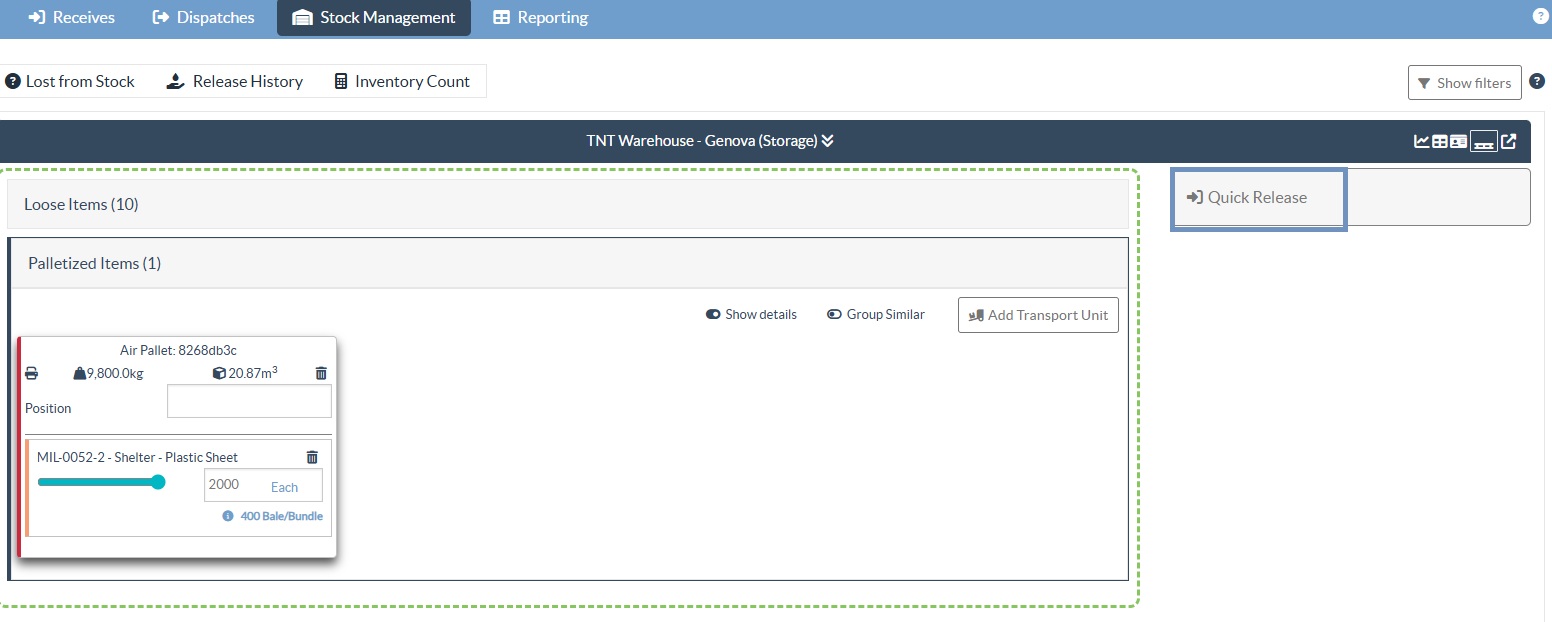
Step1: From the Pallet View, select the pallet associated with the relevant consignment.
Step 2: Drag and drop the selected pallet into the Quick Release tab located on the right side of the screen.
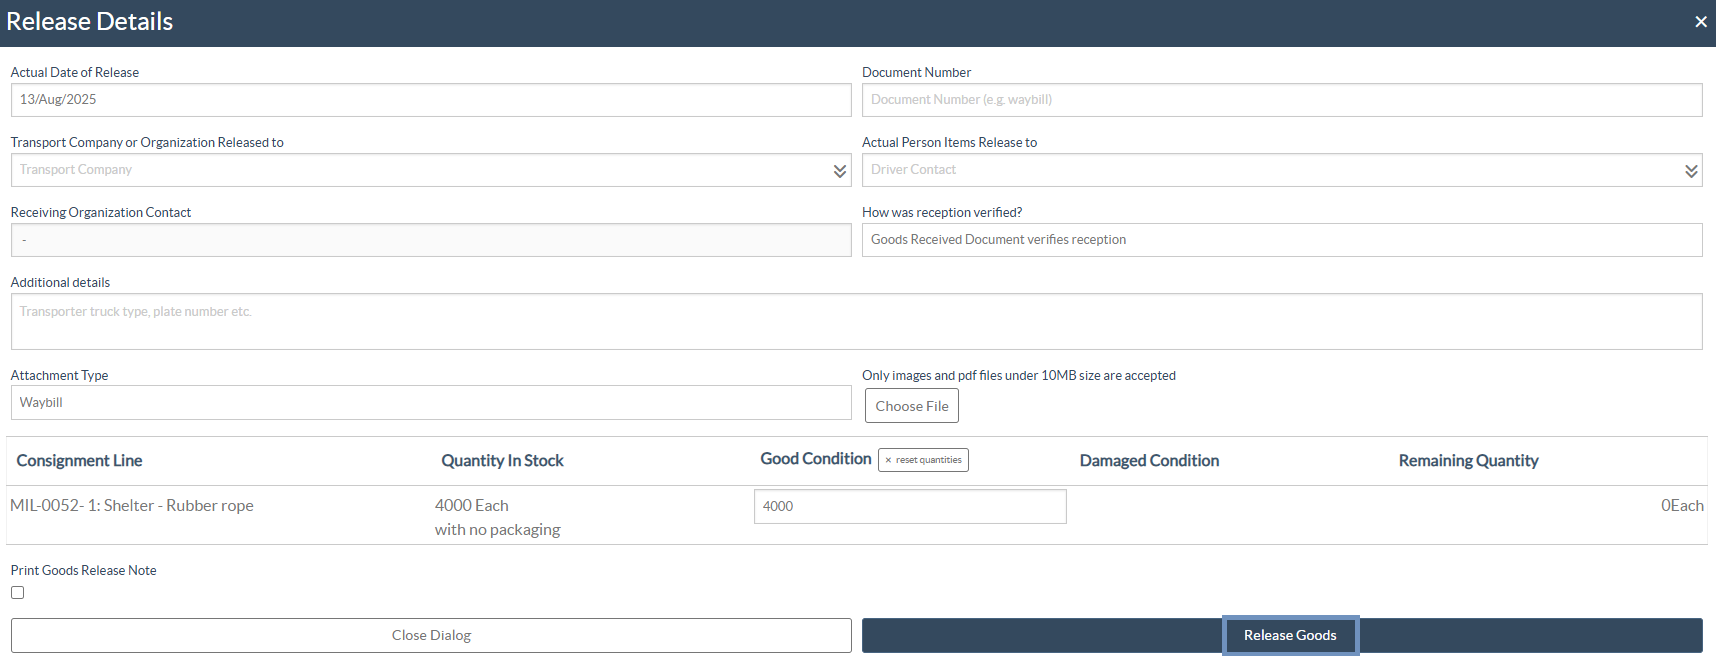
Step 3: In the release window, input the following information:
- Date of Release.
- Transport Company or Organization Released To.
- Name of Individual Receiving the Items.
- Quantity Released.
- Additional details: Use this free-text field to include logistical notes such as vehicle type, license plate, or other relevant tracking information.
- Attachment Type: Select the type of document being uploaded (e.g., Waybill, Release Note, Proof of Delivery).
- Choose File: Attach the related file. Only images and PDF files under 10MB are accepted.
After entering all required details, click the Release button to complete the transaction.
Show Filter: This feature allows users to filter consignments more efficiently by applying criteria such as Consignment Number, Organization, Service Type, or Keyword Search. When activated, the filter tab expands at the top of the screen, enabling users to quickly narrow results and locate specific consignments or items within a warehouse.
Step 1: Click Show filters (Top- right). The filter panel appears at the top of the page.

Step 2: In the pop up, enter one of more criteria:
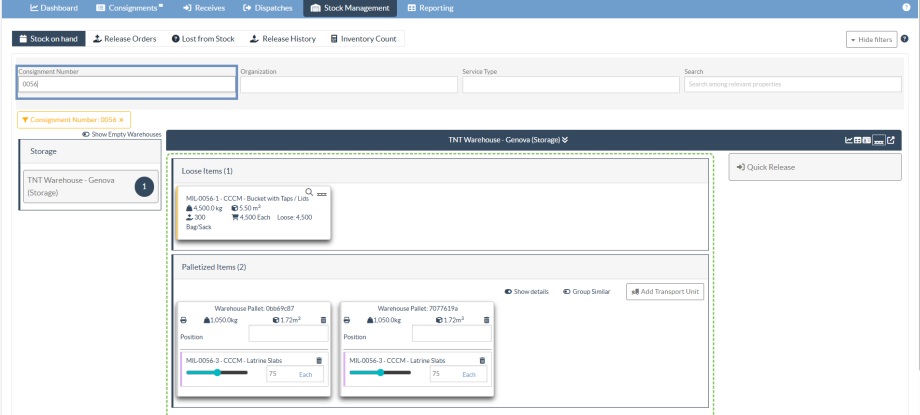
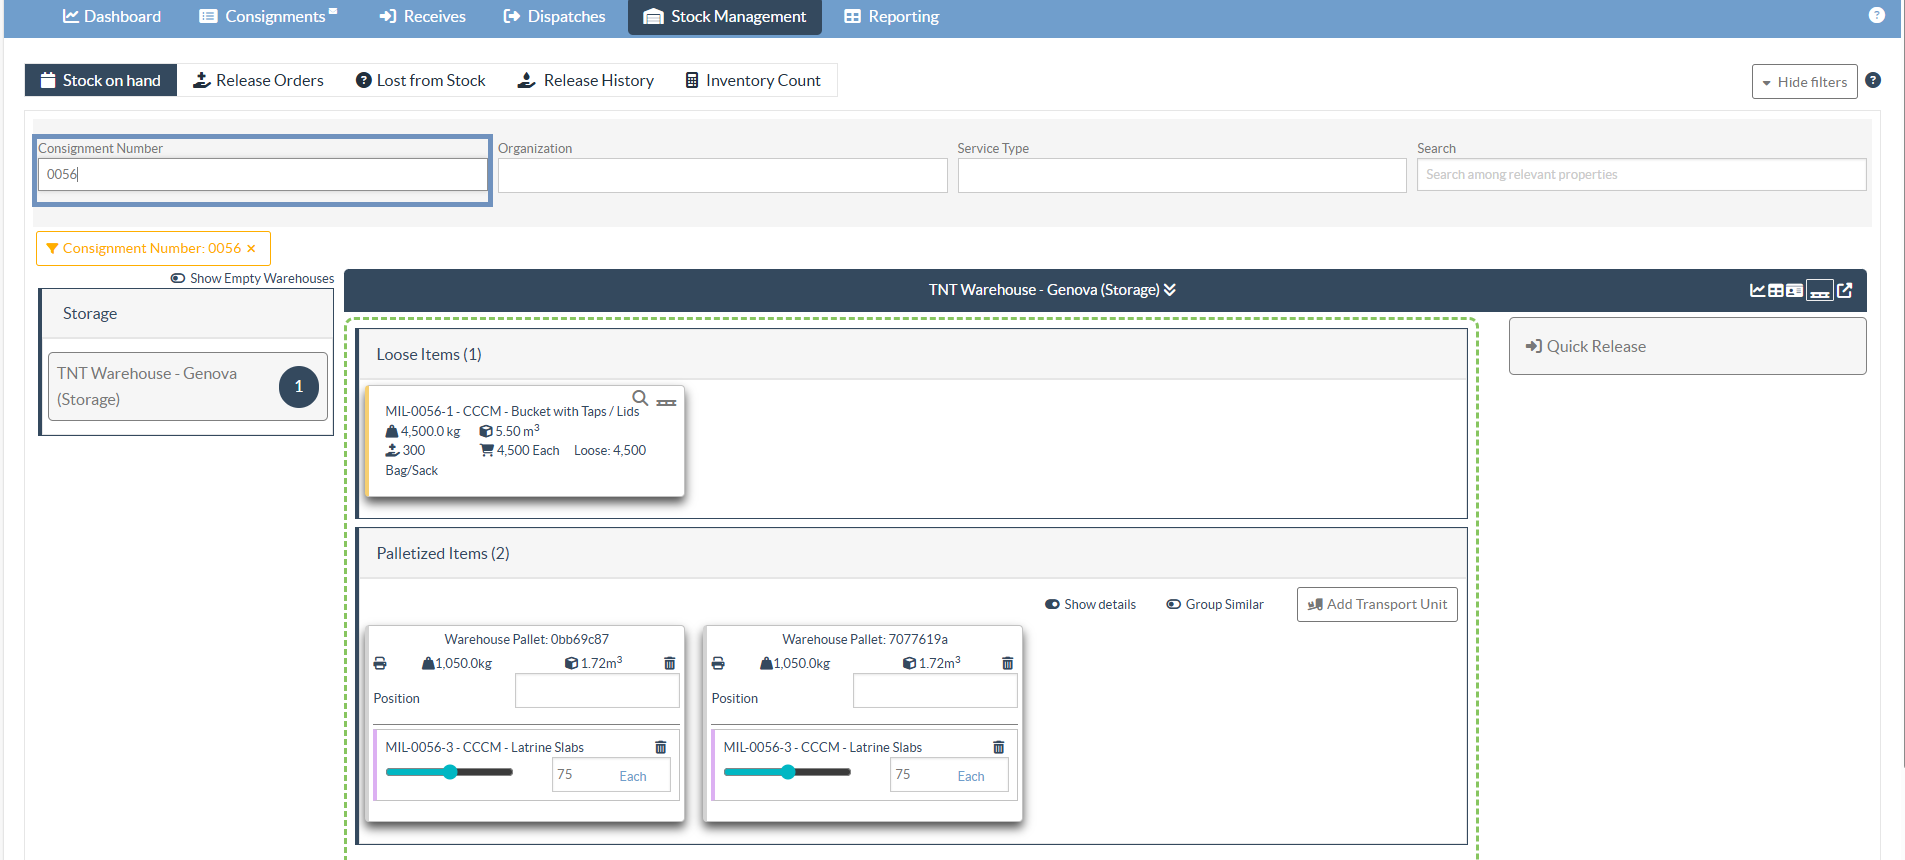
- Consignment Number: type a full or partial number (e.g., 0056 or 56) and press Enter.
- Organization: Choose from the list of organizations.
- Service Type: Choose from the list.
- Search: Enter keywords found in line-item details (e.g., item name, product category etc.).
For example, filtering with consignment number 0056 in the screenshot below- RITA operators can see only matching loose items and palletized items for the consignment 0056 in stock. You can add additional filters to refine further; filters can be combined.
Step 3: To remove a filter, click on “×” and all filter will be removed.
Step 4: Finally click "Hide Filters" to collapse the filter tab when you are done.
Note: Hide filters do not clear filter.
Additional Pallet Features:
Viewing Options:
To tailor the pallet display to operational needs, two user-friendly viewing options are available in the Pallet View screen:
Show Details: A toggle switch that expands each pallet to display detailed cargo information such as - Item name, Quantity and Unit type.
When turned off, the display collapses for a more compact view, improving screen readability.
Group Similar: When enabled, this feature automatically groups pallets containing similar item categories (e.g., Logistics, WASH, Shelter) together. It provides a cleaner, more structured layout for easier navigation.
 | When Group By is enabled, the drag-and-drop function is disabled. Because multiple pallets and consignments are combined into a single grouped view, users will not be able to drag pallets into a journey or release operation. To re-enable drag-and-drop, toggle Group By off. |
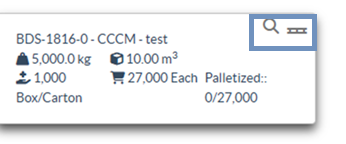
Item Tracking:
A magnifying glass icon next to each line item opens the Stock Disposition Screen, showing detailed tracking information.
QR Code Printing:
Each pallet includes the option to generate and print a QR code label for tracking and identification purposes. To print a QR code for a pallet, follow the steps below:
Step 1: Click the printer icon located next to the pallet in the Pallet View.
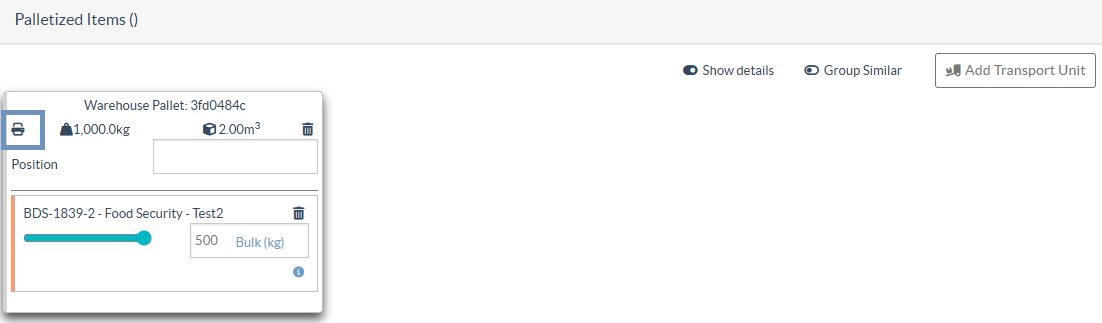
Step 2: A QR code will be generated, linking to the pallet’s digital summary.
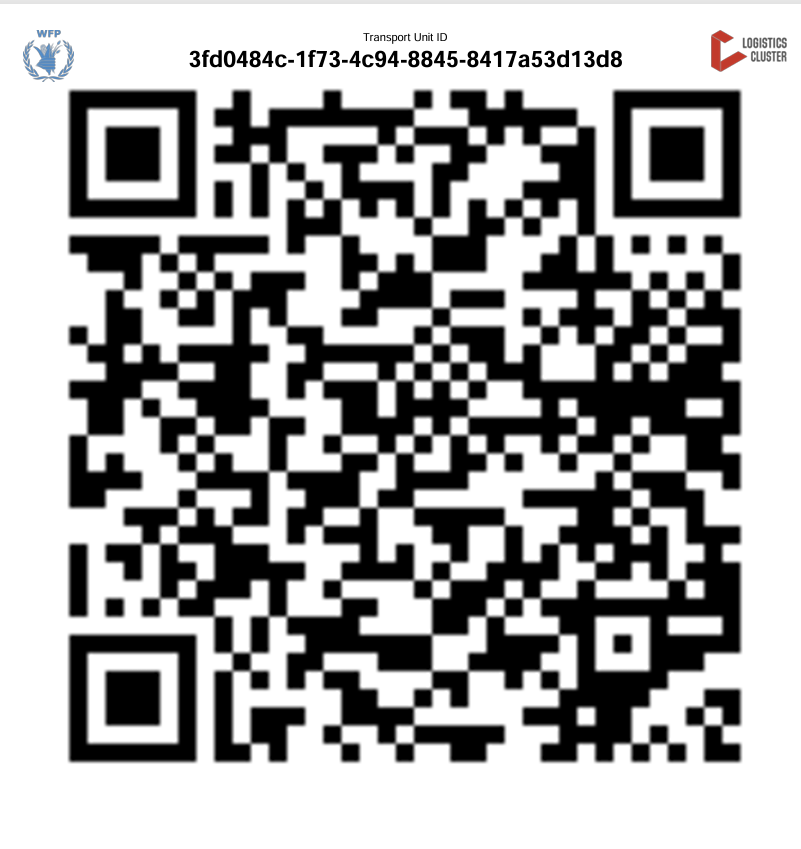
Step 3: Use a QR scanner to access detailed pallet information, including Current pallet location, Transport unit type, Total weight and volume, Sender organization, Item description, IU (Item Unit) and HU (Handling Unit) quantities, Flags for temperature-controlled, fragile, or dangerous goods